When 20% Is the Right Depth for RH Testing
In the past few decades in the building industry, concrete moisture testing has seen some significant changes in both methodology and technology that have ultimately worked to improve the understanding and best practices of the building and flooring industries.
Concrete Moisture Testing: A Brief History
Concrete is a construction material that has been around for centuries, and many monuments to its longevity are still standing. However, there are also numerous incidents of concrete failing or having permanent flaws because of problems that resulted in connection with moisture conditions. Measuring moisture levels in concrete has become a critical part of the process.
In recent years, a variety of methods for measuring moisture in concrete have become common:
CaCl Test
The Calcium Chloride (CaCl) test (or MVER), also known as the moisture vapor emission rate test: CaCl testing uses a desiccant material sealed under an impermeable cover and measures the amount of weight gain in the crystals over a certain amount of time. That gain is considered to be moisture emitting from the slab, and an indicator of the remaining moisture in the slab. It began merely as a “dampness test” in the 1940s but has become a standard test in the flooring and building industry, even though there is no scientific backing for the test method.
The CaCl test is currently the method covered by ASTM F1869, although it has also been specifically disallowed for lightweight concrete.
The Hood Method
The hood method was first used in Europe around 2005, the hood method uses a moisture-resistant, insulated hood to cover a probe placed on top of the concrete surface. The expectation was that the test would recreate the conditions a floor covering would experience if installed on the concrete slab and give an indication of the readiness for a floor covering to be applied. It is the test method outlined in ASTM F2420.
Concrete Moisture Meters
Concrete moisture meters function in the same manner as other moisture meters. An electrical or electronic signal is sent into the concrete and the resistance or return is translated into a measurement meant to indicate the moisture level in the slab. There is no ASTM standard for using concrete moisture meters for testing concrete slab moisture levels, although they can be useful survey tools.
Problems with These Tests
The problem with each of these three methods is that they are limited to only the surface conditions of the concrete slab. (Moisture meters are also affected by internal elements, like rebar or admixtures in the concrete mix.) The reality of drying concrete is that moisture sits in a gradient pattern with moisture levels increasing towards the bottom of the slab, and ambient conditions can quickly affect the surface conditions without uniformly changing internal moisture content.
A more accurate method of testing moisture in concrete slabs was needed, and research indicated that relative humidity (RH) testing has proven to be more reliable.
Relative Humidity (RH) Testing
RH testing as we know it today began in Sweden in the mid-1990s. The studies performed there led to the conclusion that the best method for determining what a concrete slab’s final moisture level would be if a floor covering was installed was to place a sensor in the slab itself. Hence, this test system is sometimes referred to as using “in-situ” probes and is covered under ASTM F2170.
There are two types of RH test probes. The first uses a cylindrical sleeve placed in a hole drilled in the slab, then inserts a sensor into the sleeve to take the reading. These probes are reusable but require calibration checks within a 30-day window before each use, and annual recalibration at a minimum. The second type, like the Rapid RH® L6, combines the sensor and sleeve for insertion into the slab and takes readings with a separate reading device.
Doing the Math: 40% concrete Moisture Testing
With either form of RH probe, studies prove that readings are taken at 40% of the slab depth provide the reading that would coincide with the final slab RH level after it has fully equilibrated under an installed flooring or sealant. For the majority of flooring installations, 40% is the magic number for correctly installing the RH sensor and meeting industry standards. So, if a slab measures 6 inches deep, the test hole should be drilled 2.4 inches deep.
But 40% is not the right number for every installation.
Doing the Math: 20% Concrete Moisture Testing
Testing also proved that for a slab drying from two sides, 40% was not yielding accurate results. For a concrete slab drying from two sides, 20% actually represents the most accurate depth for finding the final RH levels. With moisture exiting the slab from two sides, the natural gradient of concrete in the slab actually means moisture is highest closer to the center of the slab than at the bottom as it is when the slab is only drying from one side. To accurately measure RH then, the test hole must be at 20% of the slab depth: a 6-inch slab drying from two sides would instead need to have test holes drilled to 1.2 inches.
RH testing, like the innovative and easy-to-use Rapid RH L6, provides the most accurate available testing to prevent moisture-related flooring problems. To learn more about the science and history of RH testing, visit our free webinar here.
Understanding the correct depth for each probe means those results can drive your schedule and your decisions with the best possible information.

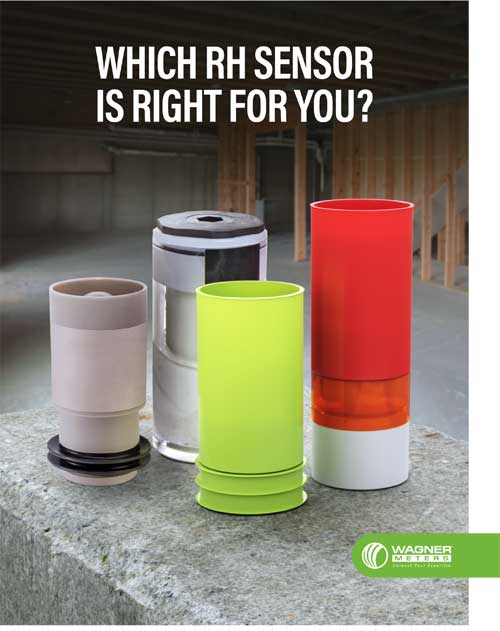
Free Download – Which Rapid RH Sensor is Right For You?
Jason has 20+ years’ experience in sales and sales management in a spectrum of industries and has successfully launched a variety of products to the market, including the original Rapid RH® concrete moisture tests. He currently works with Wagner Meters as our Rapid RH® product sales manager.
Related Posts via Taxonomies
Last updated on August 31st, 2021


Will the TE-CD hammer drill bit pass Osha rules for zero dust in the air.
Charles:
Thanks for the question. The drill bit is only as good as the vacuum. If your vacuum meets the airflow requirements and filtering capability, then everything is fine. Here is a booklet from Hilti that outlines things a bit better: https://www.hilti.com/medias/sys_master/documents/h4c/9241983582238/Documentation-ASSET-DOC-LOC-8055660.pdf.
Thanks,
Jason
So if we have a slab that is required to be tested at 20% depth, what’s the proper placement for the sensor when the slab is less than 8″ thick? I’m assuming the test won’t perform properly when the sensor is sticking out of the floor, as they’re 1.6″ tall and the depth of anything less than 8″ is less than that for a 20% hole. There is absolutely no information on this subject in the kit paperwork or on your website.
Kurt,
Thanks for the question. The critical part of the sensor to perform correctly, revolves around the three larger diameter “isolation” rings at the bottom of the sensor barrel. These are larger than the properly driller, ¾” diameter hole in which they are installed. This creates a sealed void of space at that critical, depth specific area in the slab (assuming the hole is drilled to the correct depth). The sensor then reads the air in this void. This being said, as long as the isolation rings are sealing properly, having part of the sleeve sticking out of the concrete will not impair the functionality of the sensor. From a jobsite safety and/or ensuring viability of the test, some don’t like to leave them sticking up. This is one of the reasons we altered the design in 2012 and made the sensor two pieces. You can take the longer “smooth” section of sensor/sleeve apart from the bottom “isolation” ring section and change it out with one of the smaller length extensions included with every pack of sensors.
Jason