24 Hardwood Flooring Tools for Installation
As with any trade, hardwood flooring professionals need an assortment of tools to install a floor properly, safely, and in a timely manner. However, the choice of which tools to have on hand can be daunting.
1. Safety Goggles
Safety glasses should meet performance standards set by the American National Standards Institute (ANSI). There are many safety glasses to choose from. They come in a wide variety of styles and color choices. Normal glasses or contact lenses do not qualify.
Goggles are a better choice for certain conditions. They protect the eye socket more effectively and completely than either glasses or face shields because they fit tightly against the face. If you have a vision prescription and don’t wear contacts, buy prescription goggles. Not being able to see at all isn’t very safe either.
2. Dust Mask and Vapor Respirators
A dust respirator will protect your lungs and upper respiratory tract from wood dust. Some people are highly sensitive and even allergic to wood dust, especially the dust from certain wood species. The best ones have a NIOSH N95 rating and the letters N95 printed on the mask.
A vapor respirator is necessary when applying a finish. Check the finish manufacturer’s Material Safety Data Sheets (MSDS) for the appropriate respirator.
3. Ear Plugs or Ear Muffs
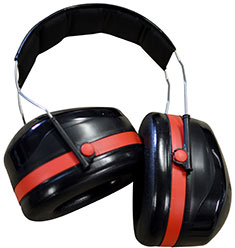 Earplugs are easy to use and inexpensive. They come either as foam inserts or pre-molded plugs. If you’re concerned about earplugs getting lost in your ears, there are earplugs called “semi-inserts” that have a band or string connecting them together.
4. Knee Pads
As a wood flooring installer, you will be spending some of your time on your knees; knee pads will prevent strain and pain. Use contractor-grade pads made of cloth that are adjustable and fit well. Since they come with a soft non-marring outer surface, they will not damage floors like hard plastic or metal versions. There are also ergonomic type knee pads containing fluid that offer considerable comfort.
5. Work Safety Boots
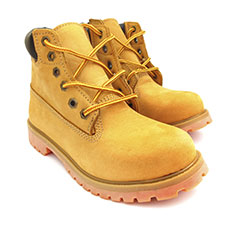 The dangers to your feet are obvious. When you select a boot (athletic shoes are not acceptable), here are some features to consider:
Slip-resistant: Keep the treads cleaned out, or they’ll become less slip-resistant.
Safety toe: You have some choices here. They don’t necessarily have to be steel-toed, which can get heavy and cold. Some good safety toe alternatives are carbon composite toe, aluminum toe, or composite toe.
6. Heavy Gloves
Heavy work gloves with reinforced fingertips should last a long time. When you’re laying down the adhesive, a simple latex glove may be sufficient.
7. Feather Boards
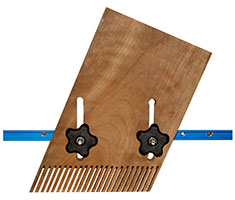 Use the feather board to push the stock past the cutting edge whenever you use a table saw. The feather board not only creates a smoother cut but also protects your hands from kickback and from getting too close to the blade. You can buy them or make them. Whichever option you chose, just make sure the feather board fits your specific project.
8. Electrical Testers
Electrical testers check for the presence and amount of current in an outlet. They let you know if a certain machine can safely operate from that outlet. Make sure your extension cords are the proper rating to prevent fires. Too little power will burn out an electric motor.
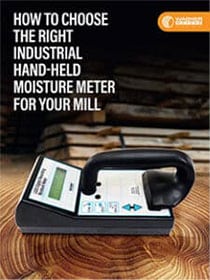
9. Wood Moisture Meter
Determining the moisture content in wood flooring is crucial to doing a quality job. If the wood has too much moisture, the floor that fit so well when first installed may eventually show cracks, cupping, or buckling, which could mean costly callbacks for the installer.
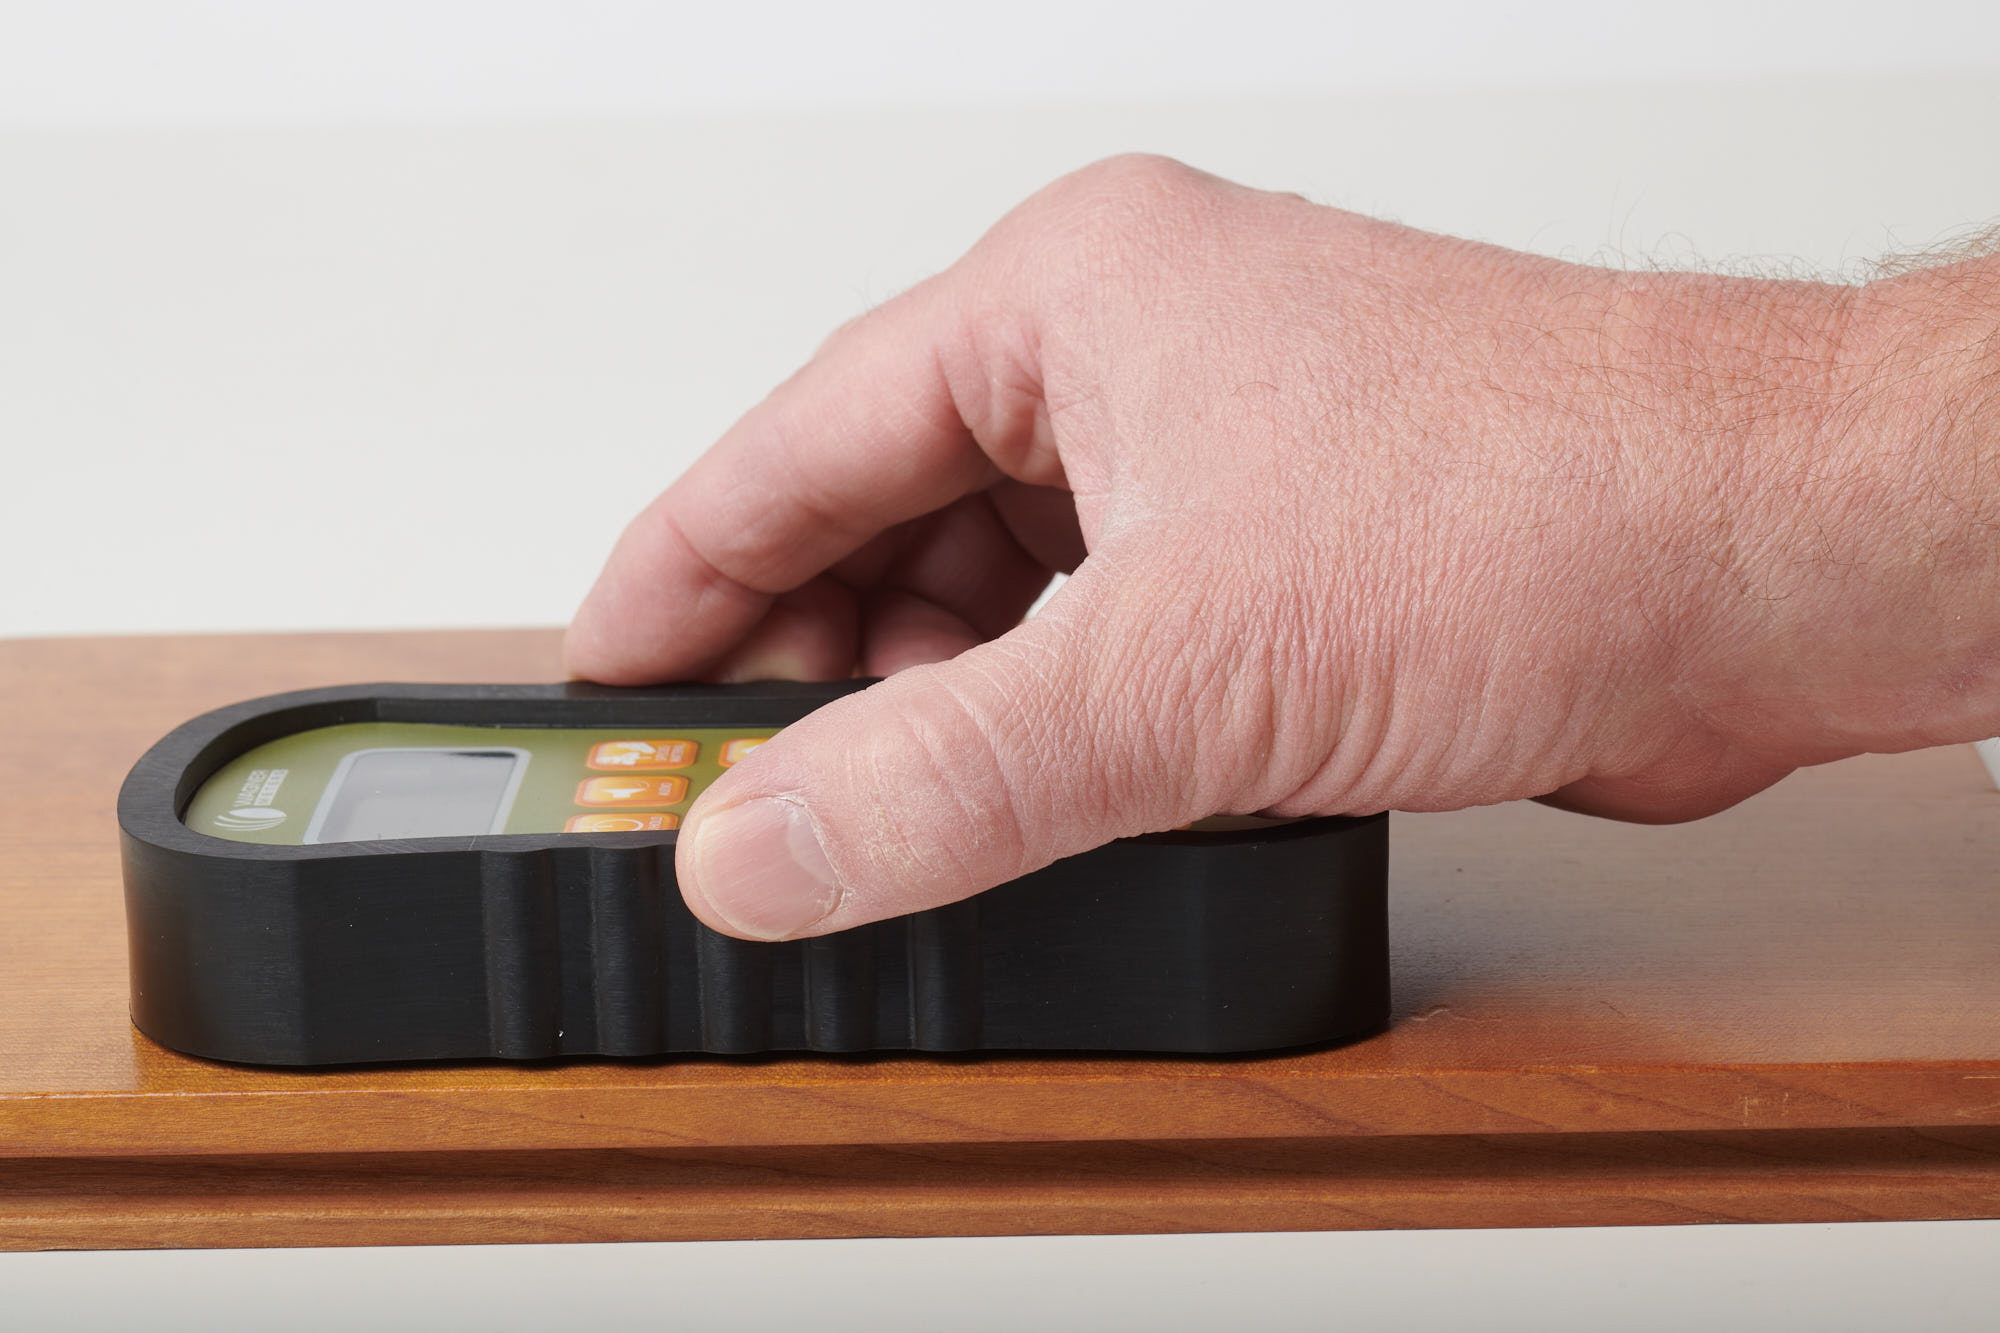 According to marketing data, more than $500 million is spent each year on repairing flooring failures. That’s why flooring materials should be checked with an accurate wood moisture meter before, during, and after installation.
There are two types of wood moisture meters: pinless and pin-style meters.
10. Concrete RH Testing System
When installing flooring covering on a concrete slab, it is important to know the slab’s moisture content. Slabs with excessive moisture can cause adhesive failure, wood warping, or cupping. Relative humidity (RH) testing that uses in situ probes is the most reliable method for testing concrete moisture conditions within the slab.
Other test methods, including calcium chloride testing or the poly-film test, often are unreliable and are being discontinued.
Surface concrete meters might help determine the most likely areas for necessary RH testing, but they do not provide an in-depth picture of moisture conditions within the slab as does RH testing.
11. Tape Measure
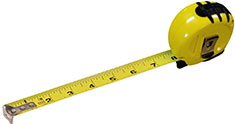 A tape measure is an inexpensive hardwood floor tool every installer should have. It’s best to invest in one that you can read easily, is retractable and has a hook at the end to stay in place. Without an anchor to keep the tape measure secure, you can get measurements up to 1/8 of an inch off.
12. Level
A level will tell you if the subfloor’s surface is even and ready for the wood flooring to be installed. Installing the wood on an uneven subfloor is another way to create the circumstances for future flooring failure. You’ll want a large level to accurately measure the subfloor’s level.
You can find them in lengths of four and six feet. A complete level will have two bubble readings at both ends, one each to measure horizontal and vertical levels. The level edges should also be made of either metal or brass-edged wood.
13. Solutions for Straight Lines and Angles
A Carpenter’s square helps you measure perpendicular edges and 90-degree angles precisely to mark cuts on your stock. They come in metal or plastic.  A Protractor will help you set the proper angles on your saw so you’re cutting corners and moldings correctly. You can select either a manual or digital protractor.
14. Spacers
Spacers are used to measure what’s called an “expansion gap.” Because wood either absorbs or releases moisture when relative humidity increases or decreases, it can cause hardwood flooring to expand and contract. The use of spacers will enable you to leave a small space around the room’s perimeter for the flooring to “breathe.”
15. Saws
Hand saws are great when you have a small sawing job; a hand saw will do just fine. They’re also better for cutting down on noise and dust. Some hand saws you may want to purchase are:
- Standard hand, crosscut, and rip saws for basic straight cuts
- Backsaw, a shorter, fine-toothed saw, used with miter boxes
- Coping saws used for fine, intricate cuts as well as curved or circular cuts
- Hacksaws and mini-hacksaws, similar to coping saws, have longer, deeper fine-toothed blades and are used for cutting metals and plastic
- Jamb saws come with an offset handle that allows for undercutting door jambs

Free Download – 5 Ways Pinless Moisture Meters Save You Time and Money
16. Nail Set & Nailing Machines
Nail sets look like awls. You use them to drive nails below the surface of the wood. When hand nailing tongue-and-groove flooring, use the nail set on its side to avoid damaging the corner of the flooring strip.
Nailing machines help keep nailing time to a minimum and eliminate time spent reaching for nails. They work as fast as you can position the machine. 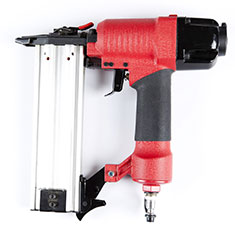 There are different styles of nailing machines.
The ratchet and spring-loaded nailers release nails when you strike them with a mallet.
Pneumatic nailers, also known as air nailers, use compressed air to operate and require a higher degree of safety consciousness.
The ratchet-style nailers are easier for novices to use because they can operate with several strikes.
Spring-loaded nailers operate on the one strike, one nail principle. The pneumatic nailers shoot fasteners into wood (some are designed to nail into concrete) in one of two ways. Some require hitting it with a mallet, while others require you only pull a trigger.
17. Fasteners
Installers use fasteners to attach the subfloor to the concrete. They allow for wood movement in a highly efficient way.
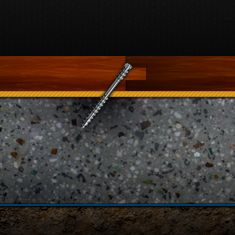 Cleats are barbed nails with a T- or L-hooked head. Most are proprietary designs for use only with a specified type of nailer. Their thin rectangular shape guards against nail splitting.
Some nailing machines use staples rather than cleats. They, too, can be effective. Installers can also use case nails, cut nails, finish nails, and screws to fasten wood flooring.
Hand nailing is best for the first and last few rows of flooring in a room when there isn’t room to operate a nailing machine. Screws can be used to fasten plank flooring.
18. Hammer/Rubber Mallet
Since most wood flooring materials join together using a tongue and groove system, it helps to have a rubber mallet to give them a good whack when nailing. If not, the gap between the boards will remain, and creaks will occur.
Use a good quality rubber mallet, one approved for wood flooring.
19. Trowel
You’ll need a trowel to get any adhesive down on the subfloor. As with the mallet, buy one specifically designed for use with a wood flooring adhesive.
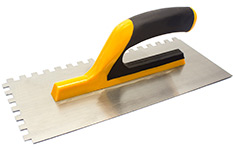 For wood flooring jobs, you’ll have two notch design options: V-shaped or square. Some people believe the V-shaped notch design is best for wood flooring adhesives. Regardless of their shape, the notches on the trowel also come in different sizes. The quarter-inch v-notch is considered best for wood flooring installations.
20. Tapping Block and Pull Bar
These hardwood floor tools will help you move the wood planks tightly into place. It might be tempting to use a stray piece of cut board as your tapping block, but that’s not a good idea. 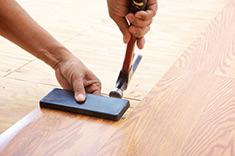 First, using the cut board is the easiest way to chip the installed wood plank, especially the tongue or groove you need to make the next plank fit in nicely. It also risks splits because the cut board won’t distribute the pressure of the tap well.
This is all unnecessary, especially since a specifically designed tapping block is so inexpensive. Most will be high-density plastic, which won’t chip or damage the wood plank.
There are also new tapping block designs that include a small groove running along the block’s long edge. This groove aligns with the tongue of the plank you’re tapping, giving it a cushion.
21. Wood Filler and Putty
These terms are often used synonymously since they can fill in gaps and holes in the wood once installed. However, there are differences between them. Wood fillers are usually water-based and dry much more quickly than wood putty, which is oil-based.
Because wood putty is oil-based, it will only work with oil-based finishes. Therefore, the decision of whether to use filler or putty to fill in seams may be made based on what finish you’ll be using. 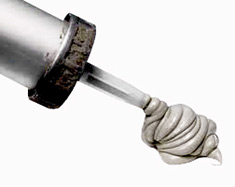 Wood fillers can be made with a variety of binders.
A latex or epoxy filler works well with unfinished flooring. Polyurethane or lacquer fillers will only work well with pre-finished or pre-lacquered surfaces, respectively.
22. Sander
Floors are wide spaces, so you want a walk-behind sanding machine. The two main options are a drum or orbital floor sander. Whichever you choose, these standing sanders both come in a variety of sizes, usually to support either eight, ten, or twelve-inch pads.
A drum sander is the most efficient, but it has some drawbacks. It’s an aggressive sander, which is why it works well to sand off a finish. However, if this is in a floor installation of unfinished wood, it can cause scratches and grooves. This is especially true when used at a right angle to the wood’s grain.
Instead, the round pad on a random orbital sander moves in an elliptical pattern but oscillates back and forth. This prevents the sanding pad from sanding in a fixed pattern, which is when scratches and grooves are most likely to occur.
23. Air Compressor
Several air compressors are available for job site operation of pneumatic staplers and nailers. Choosing one is simple – get one that’s the right size to produce adequate air volume (cubic feet per minute) and air pressure (pounds per square inch) for your pneumatic floor stapler or nailer. 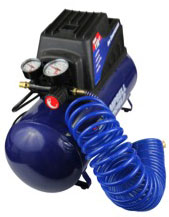
24. Shop Vacuum/Broom
A powerful portable shop vacuum is useful to pick up any powdery sawdust generated from sawing. Be sure to get one with sufficient amps in the motor. Low amps in small motors typically mean less power and less suction. Consider getting one with wide wheels to prevent damage or marring to the flooring.
Also, consider systems that link their vacuums directly to dust-producing tools to collect dust and debris at its source.
If you’re interested in learning more about woodworking tools, check out the article about the top 40 woodworking tools.
Other Hardwood Floor Articles You Might Like:
Best Practices for Acclimating Hardwood Flooring
Why Choose Natural Hardwood Floors?
Top 10 Flooring Choices for Your Home or Business
Tips to Maintain Your Hardwood Floor in the Winter
Jason has 20+ years’ experience in sales and sales management in a spectrum of industries and has successfully launched a variety of products to the market, including the original Rapid RH® concrete moisture tests. He currently works with Wagner Meters as our Rapid RH® product sales manager.
Related Posts via Taxonomies
Last updated on August 3rd, 2022


Chalk line for installation
Concrete nails 1inch blue tape
It’s great that you talked about the tools and equipment that you’d need to install hardwood flooring. Recently, my wife and I started to plan our house’s renovation. We want to start with the flooring, and after reading your piece, we’ll be sure to look for professionals with all the right tools. Thanks for the advice on hardwood floors and their installation.
I went through your explicit and very comprehensible write-ups on the various tool and usage. Well done.
I am planning on setting up a furniture company in my country, and I sure needs guide on the kind of tools and eqipments
So thankful! Love the way how you explain everything. Can you also please share link where I can buy those tools.
William:
Thanks for the question. First, you need to have someone determine what the issue is, is it moisture moving through the slap or is a condensation issue related to the relative humidity and temperature in the air vs the temperature of the concrete. I would consult a certified flooring inspector to start, and see what they determine. Start here at http://www.nicfi.org Good luck.
When you’re installing your new laminate flooring, you need to make sure you have the right tools. Keep up the great work! Thank you so much for sharing great posts.
Amazing Blog ! i believe that, definitely you have shared a informative article in your website. i am waiting for your another content. thank you for sharing with us.
Thanks for the great selection. I’ve been in the wood floor business for 20 years now and use about 80% of the tools on your list.
Regards,
Andrew Spinelli
I saw a tool on Facebook that I failed to purchase to my bad. It lays on the floor & has little slots that comes out & measures corners for baseboards & trim. It has a lot of uses. It was orange in color. HELP
Keen:
Thanks for the question. The only thing I can think of would be called a shape gauge. Good luck.
Thanks, what an informative post! Everything we need to know are found in this article. We hope you keep posting quality articles.
I really need this kind of information and must share it with my circle. Thanks for sharing this with us.
I was planning to do the hardwood installation on my own but I was not so sure about the safety tools. This content has really helped me. Firstly, I was thinking to call the Contractors of hardwood flooring Utah Company near my area but it was quite an expensive deal. Now, I will be able to do it on my own and I will take all precautions. I have the goggles and vapor respirators, but I need heavy gloves and feather boards. Rest is all in place. I hope to perform the installation professionally now.
My husband and I plan to install a maple hardwood floor in our living room. We’ll keep in mind to use electrical testers for us to check the current in an outlet. Although these are great tips, I’ll still consider looking for a hardwood flooring installation service, just in case we won’t be able to execute this perfectly.
Thank you for your great tips for hardwood floor installation. I want hardwood floors installed in my house. I will definitely utilize all of your great tips and information when getting hardwood floors installed.
Your post is so nice. I read your post and found it as an informative respectfully.
I’m looking at doing some new hardwood. I still have to get the supplies so I’ll be getting those soon. I will also have to add some of these tools to what I already have so I’ll be prepared.
I used these tools. These tools really help me to make me professional Tiles installer. But i suggest you that safety is my first opinion and priority.
It is important to have complete safety tools and equipment to ensure a safety when installing hardwood flooring.
Great post!!!! I really enjoyed reading this blog post. Nice tools for everyone. The tools look very handy and comfortable. Guys would love it.
Very useful information and informative post. I love this blog! It’s fantastic!
Thanks for sharing!!!!!!
Steave:
Thanks for the great feedback Please let us know if you are ever in the market for concrete moisture testing equipment.
Thanks,
Jason
Add a contour gauge and oscillating saw for working around door trims etc.